Showing posts with label Cottage Cutz Tea Time Doily. Show all posts

Thursday, April 04, 2019

Tea for Two!

Good Morning Blogging Friends!

It is Pam creating with you today.

I am posting a card for a friend.  I am getting ready to move cross country and it is always hard to leave good friends.  So needless to say I will be making a number of these cards.  We are moving from South Carolina to Nevada!!  It is going to be a stressful couple of weeks I am sure!


Designer Steps:
 1.  Using the Spring Teapot & Cups die cut all of the pieces out of light pink
 2.  Use your favorite markers to color the flowers, trim and leaves.  Shade the pieces and then assemble
 3.  I used tiny rhinestones for the centers of the flowers on the cup and teapot
 4.  Use a white A2 card base and a piece of light pink card stock cut slightly smaller then the base. Then I cut two pieces of DP 3 x 4
5.  Glue the pink to the card base and then add the two pieces of DP.  Use the Tea Time Doily die and cut it out of white card stock then cut it in half
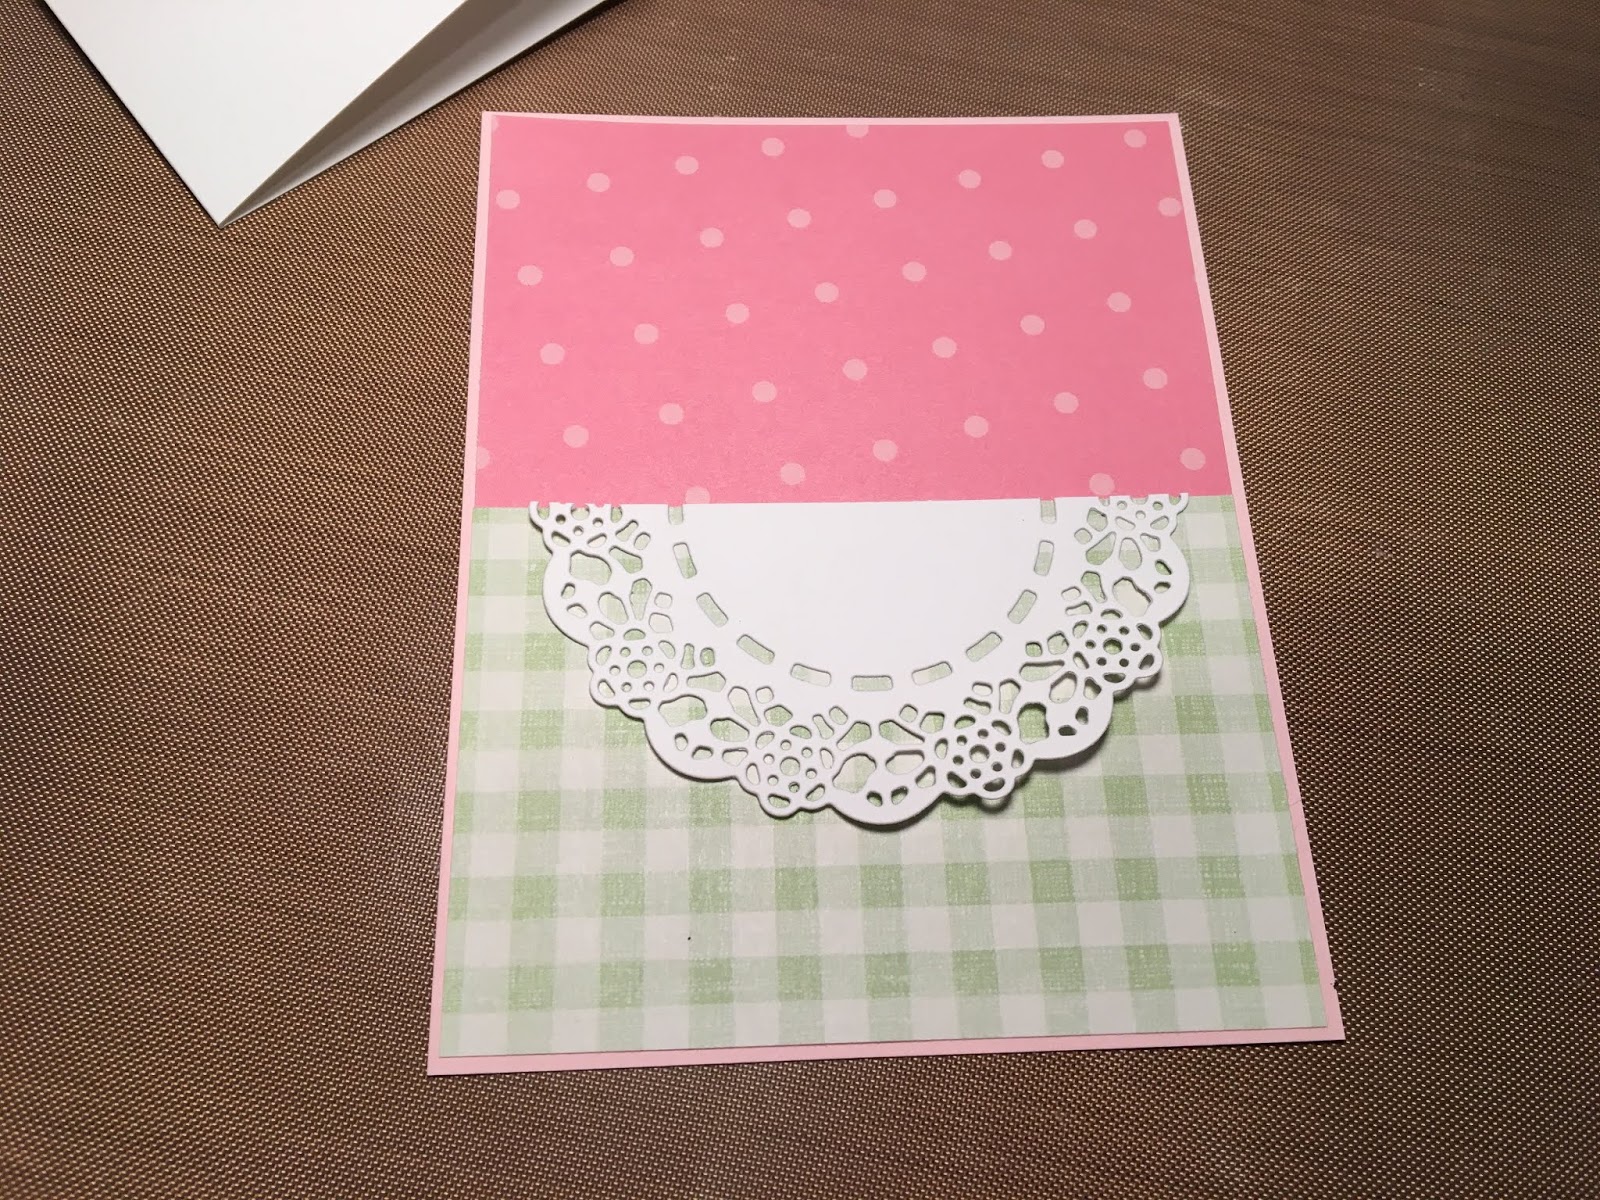
6.  Glue the white doily as shown and add a piece of satin ribbon between the two pieces of DP.  Pop the teapot and cups to the front and then add the sentiment


CottageCutz Products


This little Teapot set is so versatile I can think of a number of ways to use it. Plus it is so sweet and fun to make!  Please take some time for yourself and create! Glad you stopped by!
Blessings
Pam


Thursday, September 20, 2018

Warm Wishes!

Hello Scrapping Cottage Friends

It is Pam crafting with you today.  But before we get started I wanted to let you know we now have more new dies in the store.  Christmas Part 3 has arrive and some adorable Halloween dies as well.  Both of these sets are on sale for a limited time at 25% off.  So make sure you don't miss out on this great sale on new dies!!

I am using a die from the Christmas Part 2.  It can be used for a Christmas card, a thank you or even a winter birthday.

Design Steps:

 1.  Cut out the pieces in white card stock using the Coffee & Cocoa Warm Wishes die
2.  Use your favorite markers to color the pieces.  I used my copics
 3.  After you have colored the pieces assemble each cup.  Add glitter to the cups if you desire
 4.  Use an A2 white card base, cut a slightly smaller piece of red card stock and glue it to the base.  Cut a piece of snowflake DP slightly smaller then the red card stock.  Glue it to the red card stock
 5.  Using white card stock cut a doily using the Tea Time Doily die.  Glue it to the middle of the snowflake paper
6.  Pop up the three cups as shown on top of the doily
7.  Cut out warm wishes twice and glue them together.  Position them on the card as shown below and add glossy accents then glitter.  Your card is complete!

CottageCutz Products


As always thanks for stopping by!  We really appreciate your visit and take time to get crafty!
Blessings

Pam


Wednesday, January 24, 2018

Valentine Secret Message Slider Card!


Hello everyone! It’s Janet back with another video project for you today. With Valentine’s Day around the corner, I thought I would create a fun secret message slider card. When you pull on the tab, it reveals a heartbeat and finishes the sentiment so that the card reads, “My heart……” on the front and “Beats for You!” on the slider tab.

I had a lot of fun using foam for some of the pieces on this card including the glittered hearts from the Heartbeats die set and two bows from the Build A Bow die. These pieces add a lot of dimension and texture. I really like using foam for bows because they’ll pop back into shape after being mailed. I decorated the front using the Doily from the Tea Time Doily die and added a border at the top and bottom from the Sweet Love Border Set. As it happens, the Heartbeats die is currently 35% off and is under $6.50 right now at the store so I encourage you to check that out and the other sales currently underway.


Please visit the video showing how this card works, comes together and some other tips and tricks. Also, I have included a link to a free .pdf template in the video description. The template is a trace of the handmade card base and mechanism I created for this card. You can print it on card stock, cut it out and decorate with your favorite CottagCutz dies.


Thanks for visiting today! I’ll back again on Valentine’s Day with a sweet spring card using dies from the new release that will be coming soon!

Dies used on this project:


Thursday, July 13, 2017

Sweet New Baby!

Good Morning!

Hello Scrapping Cottage friends! It is Pam sharing one of our recently released baby dies.  And I am pairing it with a new release Expressions Word die.  The baby dies make such sweet cards it is hard for me to give them away!


Design Steps:


1.  Use an A2 white card base.  Cut two pieces of designer paper 5 x 3 3/4 and stagger them then glue  to the front as shown
 2.  Using orange, white, grey and blue DP cut out the Cottage Cutz Stork with Baby

3.  Use copic markers to add highlights and color baby's face.  Glue all the pieces together
 4.  Cut the Cottage Cutz Tea Time Doily out of white card stock and cut DP with the Cottage Cutz Cross Stitched Circle die then glue together
 5.  Put dimensional squares on the back of the stork and pop it to the center of the circle

6.  On white card stock using Cottage Cutz Expressions Plus Sweet die, cut out the word sweet three times and glue them together
7.  Glue the word sweet to the card and stamp new baby in blue ink mat then glue under sweet

Cottage Cutz Products


I hope you give this card a try.  It was simple and fun plus you could make a girl or a boy baby card just by changing up the papers!

Blessings and Thanks for Stopping By!

Pam


Sunday, May 15, 2016

Best Wishes card with vellum flowers

Hello Scrapping Cottage Friends!
Yuliya here. Today I share with you my new card I will be sharing how to make this card using the CottageCutz dies!
Supplies:
CottageCutz Tea Time Doily (4x4)
- CottageCutz Cross-Stitched Circle Set (Basics)
CottageCutz Plumeria & Leaves (4x4)
CottageCutz Expressions Best Wishes
Other:  White Cardstock for Cardbase,  vellum paper, Scissors, Paper trimmer, Sizzix machine


So let's start!
1.The size of my card is 14 by 14 cm. Prepare cardstock for base card: 1 pc - 11Ñ… 11 cm and 1 pc 14*28 cm
Prepare the details for our card - cut out 2 details from paper sheet. Prepare some die-cuts. I use CottageCutz Tea Time Doily (4x4) and CottageCutz Cross-Stitched Circle Set (Basics)

2. Glued the die-cuts as it is shown on the picture with help chipboard. 
3. Here is how I put the flower together. The flower has 3 pieces. I die cut them out with Vellum paper
4. Here is the finished flowers. Add some cristals
5. Add the Expression Hello from the CottageCutz Expressions Best Wishes
I hope you enjoy the tutorial and will be happy to inspire you!


See you next week. Please do leave a few words and thanks for your time.